*UPDATED POST*
Finally with invitation pictures! Thanks to Robyn for saving her invite and finding it for me so I wouldn't have to make one from scratch!
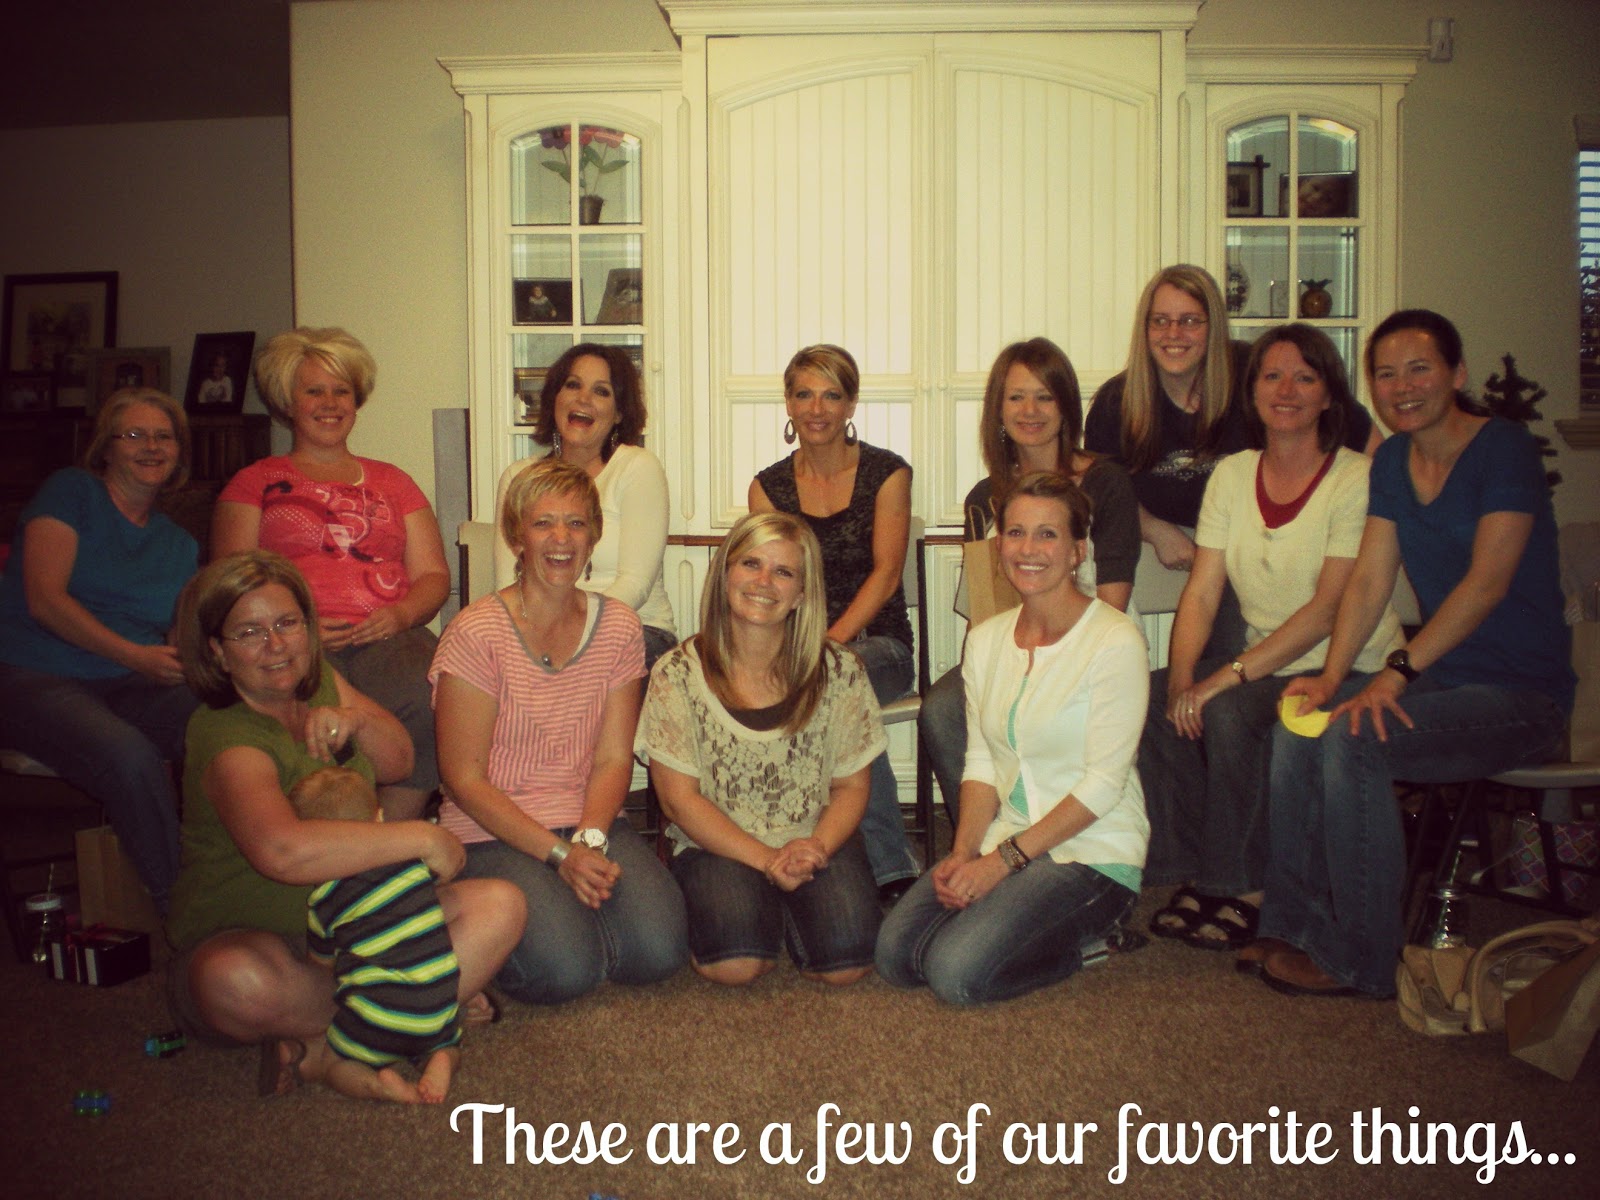
These Are a Few of Our Favorite Things Party
I could kick myself for not getting more pictures, but what do ya do?!
So here is the details of the partay....Each person brings 3 items each valued at $10. They can all be the same thing or three different bundles of multiple things as long as each bundle is worth $10. Does that make sense? So when it comes down to it you have spent $30, but will be walking away with $30 worth of new stuff!!!! Fun hu?!
Simple invitations using a brown paper sack, washi tape and twine. So inexpensive!

The food tables were set and decorations hung....things missing: the tables full of all the yummy food everyone brought! We had the ladies bring there favorite appetizer or dessert and copies of the recipes to share as well.
Here was my contribution to dessert....cracker candy. Here is the recipe...
Ingredients:
- 1.5 sleeves of saltine crackers
- 1 stick (4 oz) butter
- 1 cup packed brown sugar
- 2 cups chocolate chips
Preparation:
1.
Preheat the oven to 350 degrees. Prepare a baking sheet by lining it
with aluminum foil and spraying the foil with nonstick cooking spray.
2. Arrange the crackers in a single layer on the baking sheet
so that there are no empty spaces in between them. Crush any remaining
crackers into small crumbs and set aside for now.
3. Place the butter and brown sugar in a small saucepan over
medium-high heat. Stir while the butter melts, and bring the mixture to a
rolling boil. Once boiling, carefully pour the sugar-butter mixture
over the crackers on the baking sheet in an even layer, trying to cover
most of the crackers. If you miss some spots, don’t worry as the toffee
will spread in the oven.
4. Bake the toffee crackers at 350 degrees for five minutes,
until the toffee is bubbling all over. Carefully remove the pan from the
oven and allow to cool for one minute.
5. Sprinkle the chocolate chips on top of the hot toffee, and
allow them to sit for one minute to soften and melt. Once softened, use
an offset spatula or knife to spread the melted chocolate over the
entire surface of the toffee in an even layer. While the chocolate is
still sticky, sprinkle the top with the reserved crushed crackers.
6. Refrigerate the pan to set the toffee and chocolate for
about 30 minutes. Once set, break into small uneven pieces by hand, and
enjoy! Store uneaten saltine toffee in an airtight container for up to a
week.

I had so much fun doing the decor! I hope to post a tutorial soon on how I made these super easy, super cheap, super cute decorations! If you would like to see some more pictures of the decor go
here.
Tags with fun questions where hung on the table as guests arrived. They were numbered and so we went in order and listened to everyone answer their question. They were fun and interesting questions like: What would be your dream job? What's the nicest thing anyone has ever done for you? ect....better than the typical "What is your favorite color?" blah, blah, blah....
We also had the ladies write their name on three different slips of paper. That way when it was someone's turn to introduce their favorite things they would draw three names at the end and those three people would take home one of those things. So in the end they left with three completely new things to use and try!
Robyn made up these cute bags for the ladies to put their things in to take home with them.
Here are the two ladies (to the left) that helped make it all happen. I totally COULD NOT have done it without them! And this was all Sally's (center girls) idea!
We hope to make this an annual thing. If that's the case, I have 12 years until I have to host it at my house again...lol!
Thanks ladies for a great night!